Making a recording of yourself singing may help you measure your growth and share your skills with others.
With the proliferation of smartphones, recording your singing has never been easier. In this post, we’ll walk you through the steps of recording singing on your iPhone.
Making Use of the Voice Memos App

To begin, launch the Voice Memos app on your iPhone. You don’t need to download anything because this app is pre-installed on all iPhones. When you start the app, you will notice a giant red button in the center of the screen. To begin recording, press this button.
Here’s how to use the Voice Memos app on your iPhone to capture audio:
- Open the Voice Memos app.
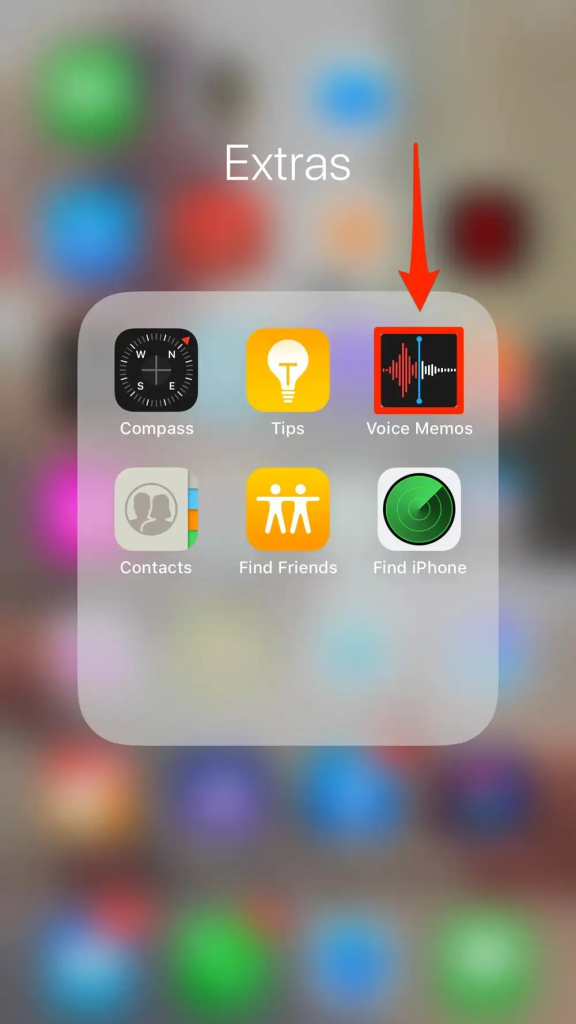
- Begin by looking for the Voice Memos app on your iPhone. Navigate to the “Extras Folder” and hit the “Voice Memos app” icon, which looks like an audio graph.
- Make a Voice Recording
- To begin recording audio, press the “Record” button (circled in red). When finished, hit the red record button again to end the recording. If you need to halt the recording, press the red “Pause” button and “RESUME” when ready to resume recording.
- Once the file has been recorded, click the “Done” icon.
- Give it a name and save it to the Voice Memos page.
- You may replay, re-record, modify, or even shorten the audio to the appropriate length once it has been stored on your iPhone. Removing the voice takes only a few seconds if you don’t like it. If you’re happy with the recording, you may send it to a transcription service or your coworkers.
How to cut, edit, and share your voice recording:
Click the “new recording” and then the three blue dots to edit. Select “Edit Recording” now.
- After selecting Edit, you may adjust the length of your audio by selecting the blue box with dots and lines in the top right corner.
- You can cut out the portion you don’t want to see using the Trim options. Drag the slider to the left or right to cut from the beginning or the end.
- To get rid of the areas you wish, click “Trim.”
- When you’re done cutting, tap “Save.”
- You can select “Delete” if the audio doesn’t satisfy you. By doing this, your iPhone’s recording is completely deleted. To return to the old interface without altering the audio, tap “Cancel.”
- To distribute your recording, click the “Share” option within the Voice Memos application. This will enable you to send your recording via social media, text messaging, or email. Alternatively, you may use iTunes to transfer the recording from your iPhone to your computer and save it there.
How to record singing with perfect background music:
You may use several methods to record a song with background music. One method is singing along with the music on your iPhone while recording it on your computer or speaker.
Alternatively, you may utilize a karaoke app to get the instrumental version of a song. Then, you may use your iPhone to record yourself singing along to this instrumental version.
After recording, open the Voice Memos app and hit the play button to hear your audio again. After giving your recording a name and hitting the Done button, you may save it if satisfied. After that, your recording will be stored and accessible anytime using the Voice Memos app.
Utilizing the Voice Recorder App, Rev

The Rev Voice Recorder software can provide crystal-clear audio in minutes, regardless of whether you want to record client meetings, interview marketing leaders, or catch every detail in a college lecture.
Additionally, the ability to convert voice to text, have your MP3 recordings readily available and share the file with your colleagues via the app all help you save time and lessen your workload.
How to Use Rev to Record Your Voice on an iPhone
- Download your device’s Rev Voice Recorder app to the Apple App Store.
- To begin recording, open the app and hit the “Record” button.
- Make sure the phone is as close to you as possible before speaking loudly into the microphone of your iPhone. Additionally, confirm that the audio recording is shown on the screen.
- Press the “Pause” button to end the recording at any time.
- Click “Preview” to play back the recorded sound to hear the entire audio recording. You may rewind, fast-forward, and play the audio any time using the same interface.
- To obtain your audio file, click “Download” or erase it.
Using the Voice Recorder on the Rev Website
- Do you need an internet voice recorder that doesn’t need an app downloaded? For that, too, Rev has you covered! Using the Safari app, navigate to the Rev Online Voice Recorder on your iPhone.
- To record audio, click the “Record” button.
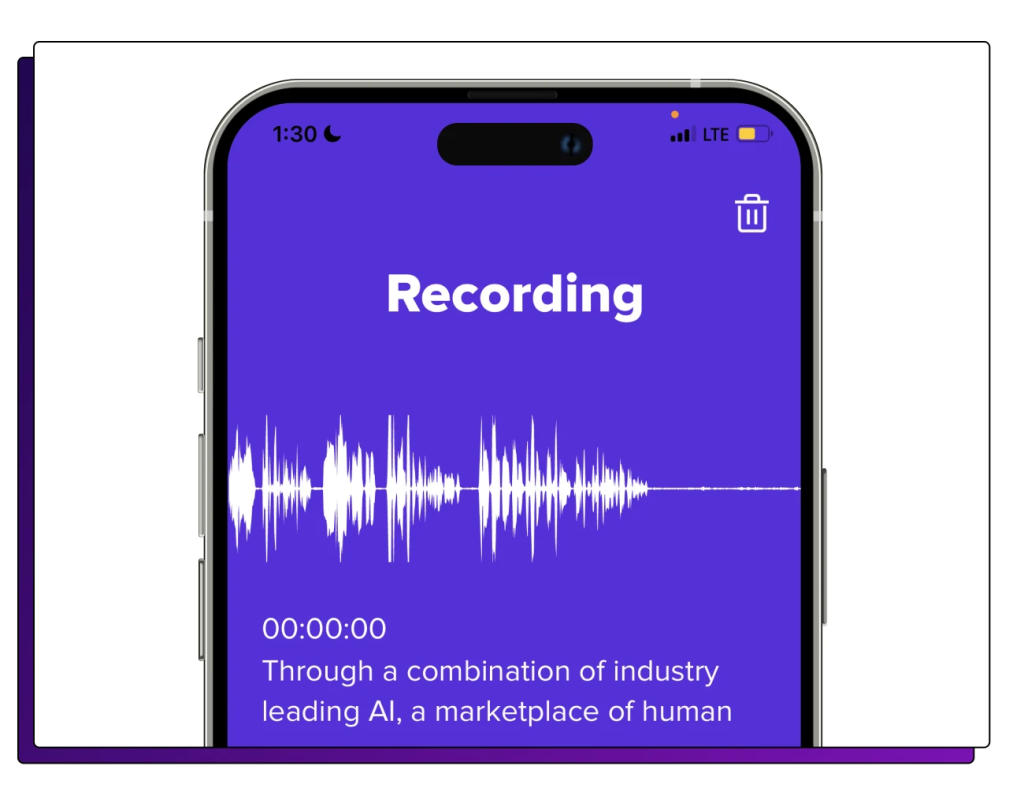
- Verify if audio is recorded by speaking into the microphone on your device and observing the animation.
- To pause the audio at any time, click “Pause.”
- When you click “Preview,” your audio will play back with a waveform so you can hear the whole recording. You may play, rewind, and fast-forward your audio in this window.
- To get your MP3 file, click “Download.” If you want to stop recording, click the garbage symbol and begin
How to record singing perfectly:
It’s crucial to check your iPhone’s microphone before you begin singing. Your iPhone microphone is close to the charging port at the bottom.
Verify that nothing is blocking the microphone since this can degrade the audio quality of your recording. Another way to test the microphone is to capture a little audio clip of you speaking.
When you’re ready to begin singing, place your iPhone near your lips and begin. While keeping a decent tone, try to sing as loudly and clearly as you can.
To enhance the quality of your recording, you may select headphones with a microphone integrated right in. These headphones can assist in cutting down on background noise and improve your ability to hear your speech.
Bottom lines:
In conclusion, you may easily record your singing on your iPhone by utilizing the pre-installed Voice Memos app or can install the best Rev app.
Make sure your iPhone’s microphone is not covered, and wear headphones with an integrated microphone for the highest-quality recording.
You can use karaoke software or play the music on a different device to record a song with background music.
You may listen to your recording when it’s done, save it, and share it with other people. You’ll sing along with your iPhone in no time if you follow these guidelines!


